Taking the edge off with Snapseed and AfterLight

I am going to show you a couple of cool apps which I like to use to play with the overall tone and colour of my iPhoneography. You can experiment until your hearts content with these techniques and there are no rules, apart from having fun.
So let’s begin with my favourite app, Snapseed. The image I am using was shot using my iPhone 4S’s camera app and then I used an HDR technique (see my last blog post) to arrive at the following edited and cropped image.

Now for me, this is too garish and over saturated. I want a subtler tone to my finished image so I am going to open this in Snapseed and add some ‘Vintage’ magic.
Subtle tonal effects using ‘Vintage’ in Snapseed
Select the ‘Vintage’ tool and you will see the default settings applied to your image.
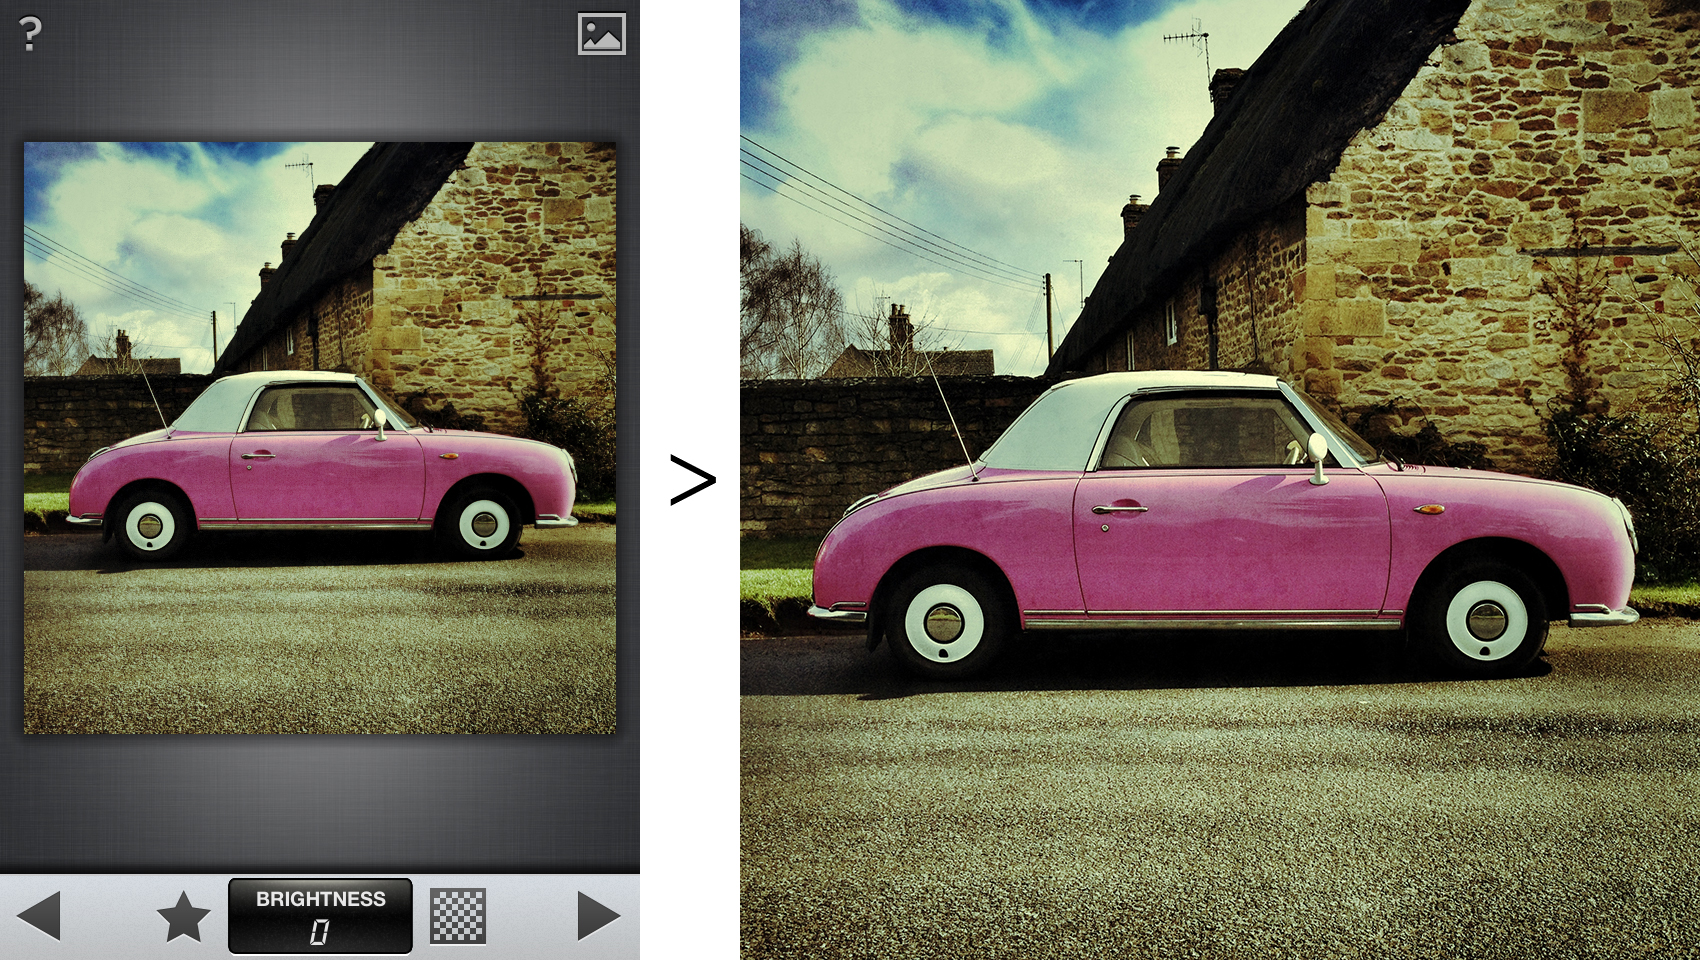
Now this has too much going on for what we want to achieve. So we need to have a play with the options.
Refining your ‘Vintage’ image
If you touch the screen and swipe up or down you will see there are a range of editing options to play with; Brightness, Saturation, Texture Strength, Center Size and Style Strength.
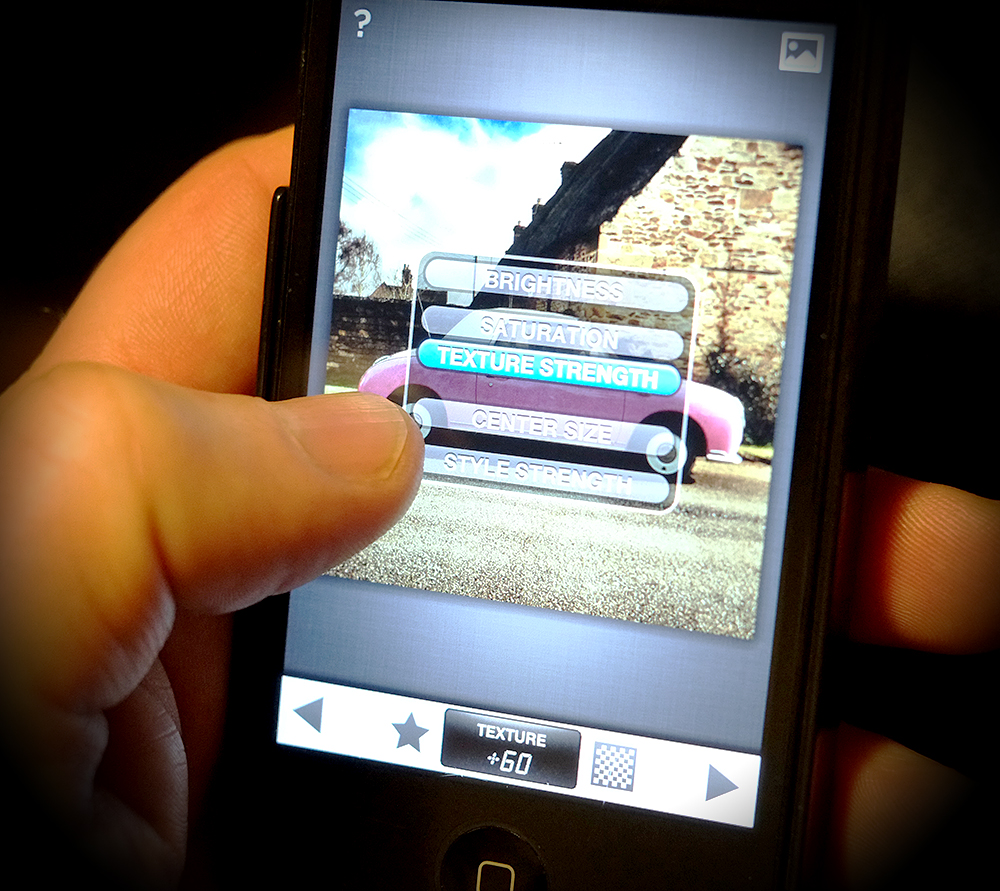
Choose ‘Texture Strength’ and take this down to zero by swiping left. Then choose ‘Style Strength’ and swipe left to take this down to zero. You will now see that the effect is much subtler (I don’t tend to change the other options very often, but feel free to have a play).
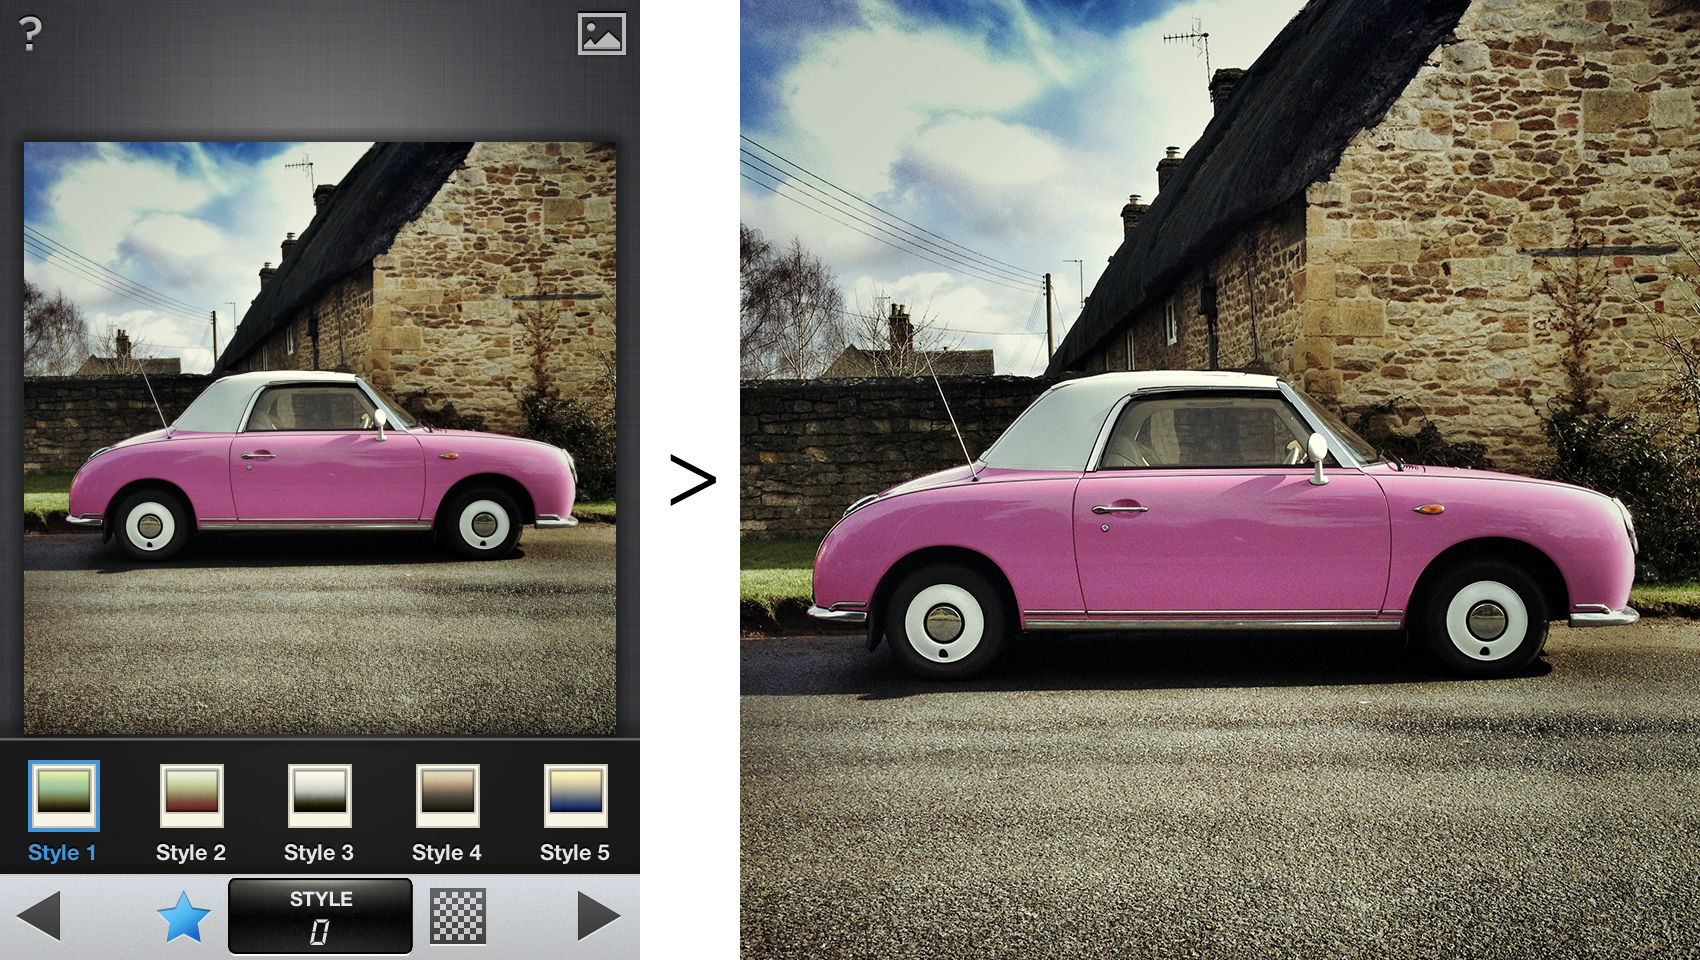
You can then select the different pre-set styles by tapping the star. Below is the result with Style 1 (Texture Strength at 0, Style Strength 0 and the other options unchanged).
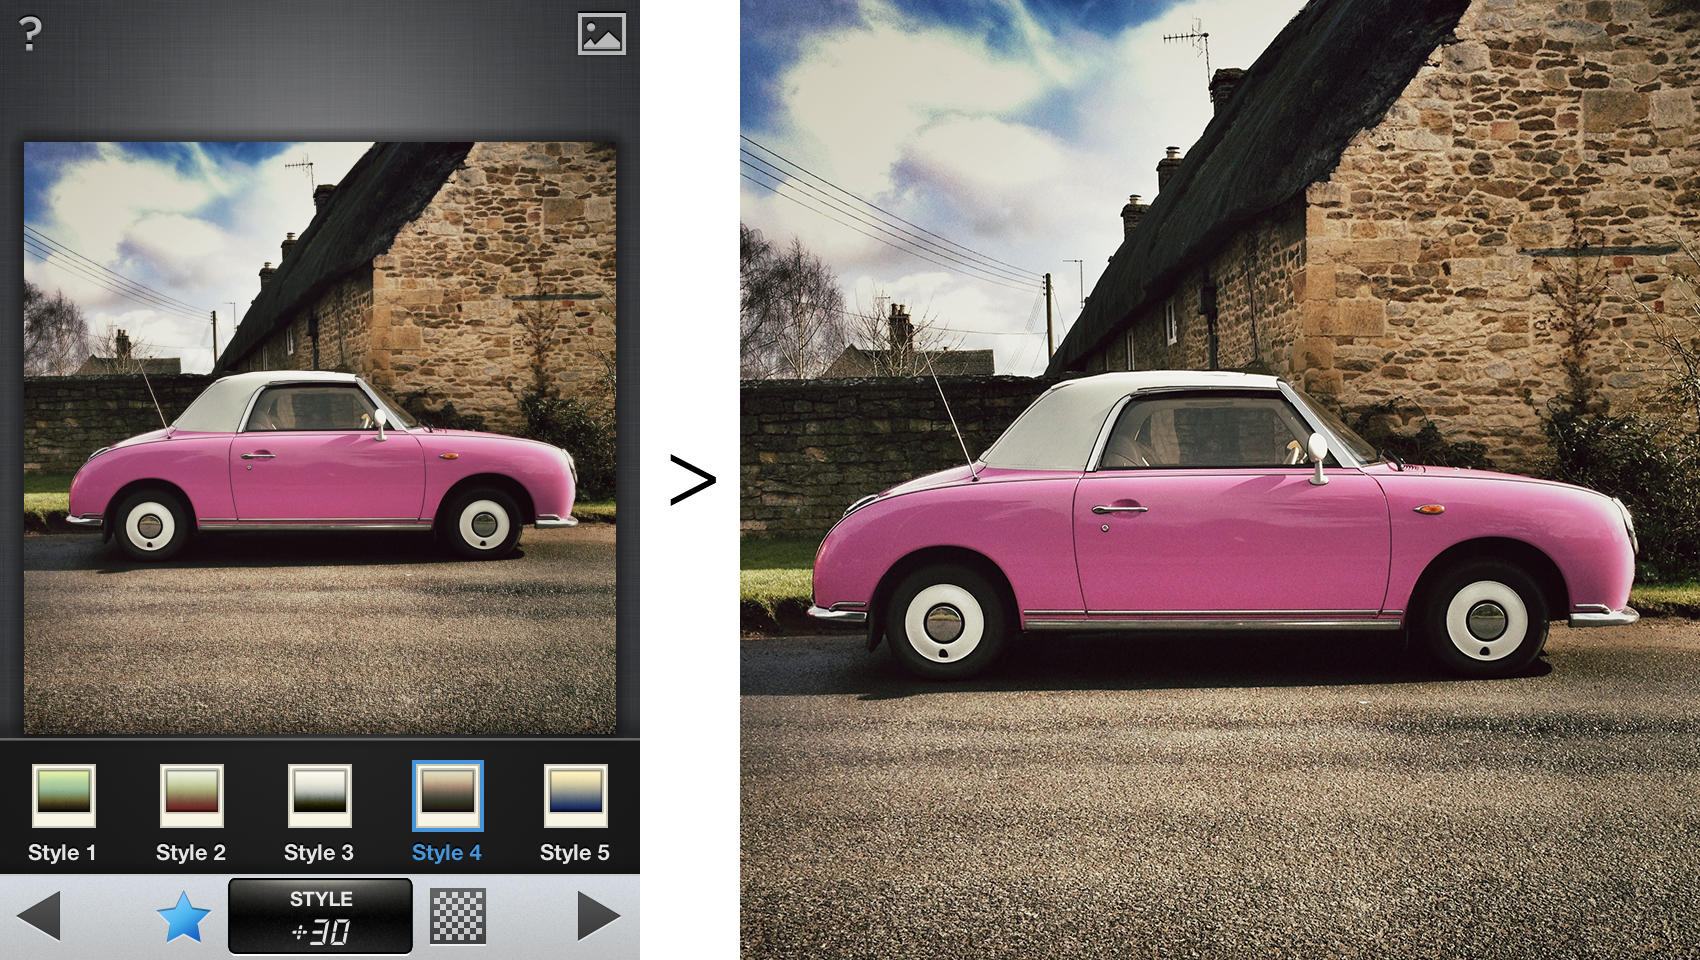
You have nine styles to choose from, all of which will deliver different tonal results. You may also like to play with ‘Style Strength’ to increase the effect. Below I have used ‘Style 4’ with the ‘Style Strength’ increased to +30. The result is a touch warmer than the previous setting.

So that’s Snapseed, but there are many more amazing apps out there that can achieve similar results. Another one that I like to use is AfterLight.
Colour filters in AfterLight
If I am looking for more ideas/options I will sometimes have a play in AfterLight and especially its colour filters.
Open the image in AfterLight and tap the colour filters tool.
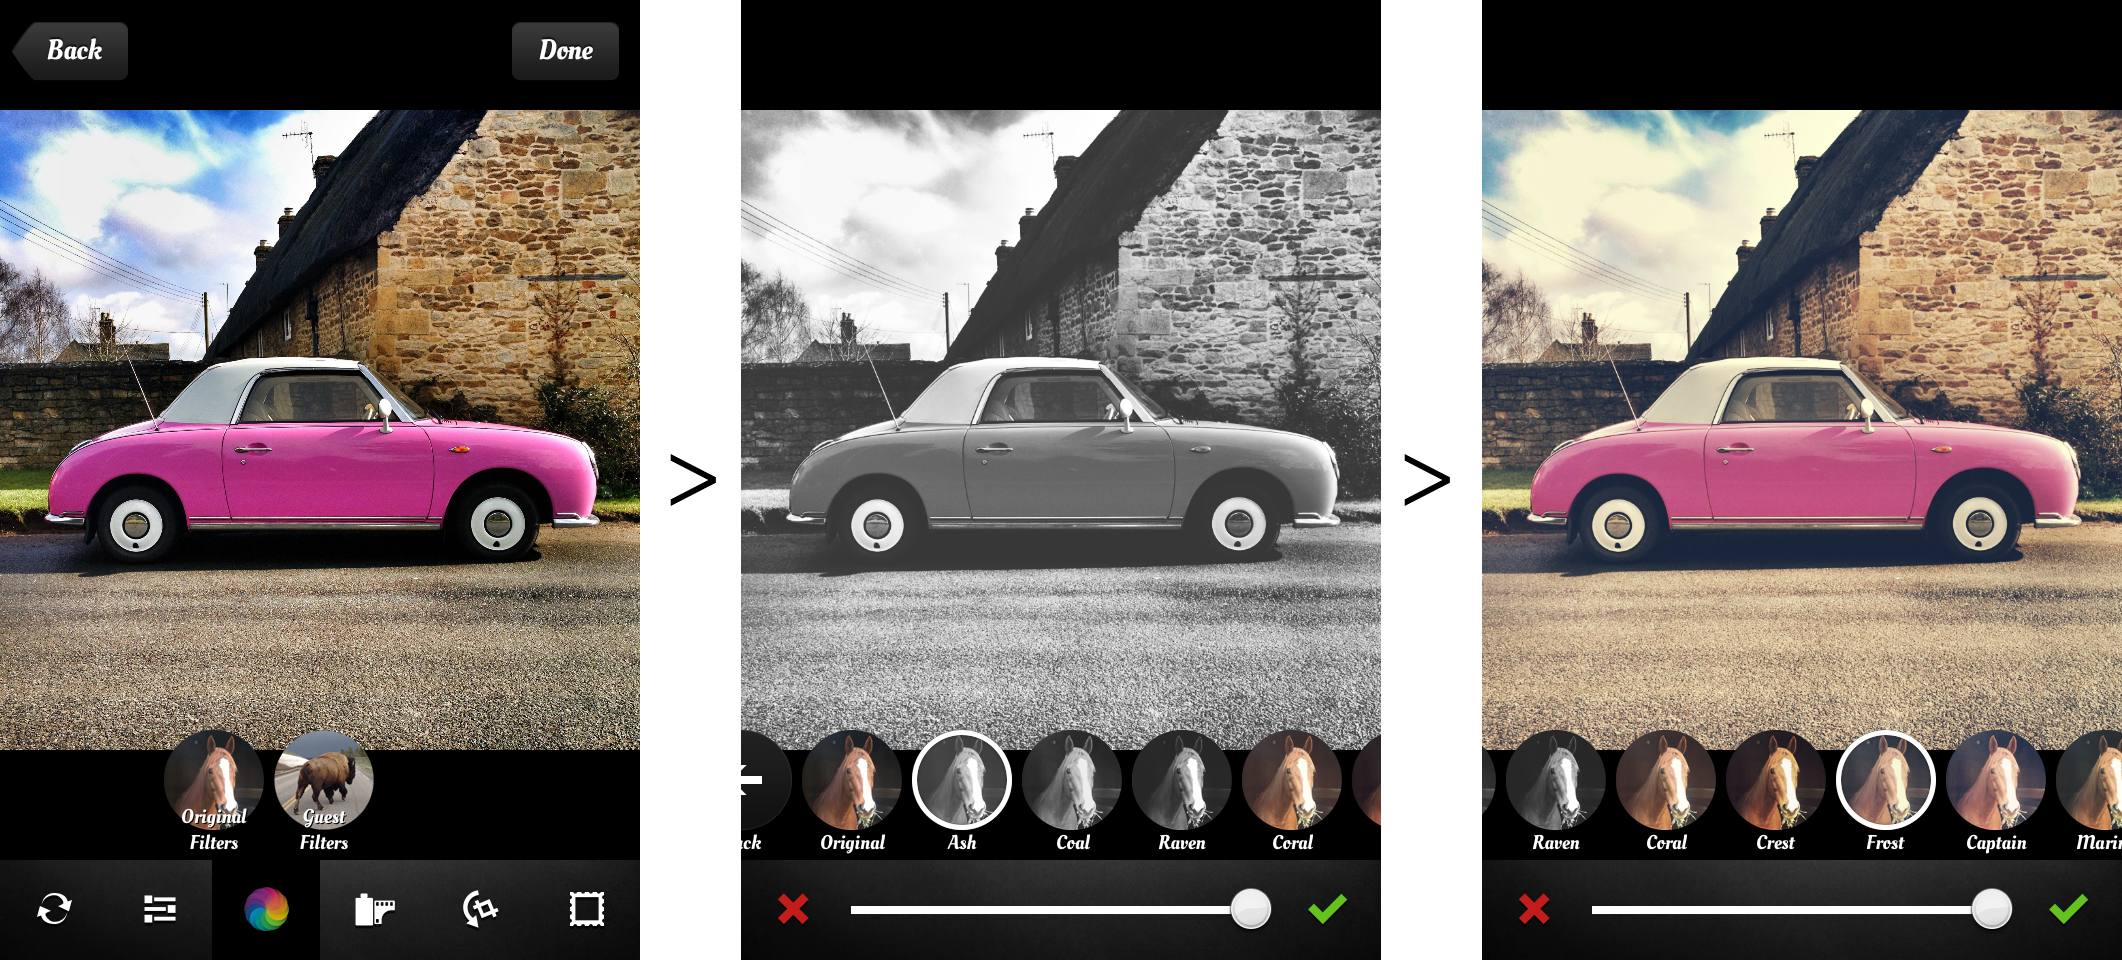
You can choose from the ‘Original Filters’ or ‘Guest Filters’. I have gone into the ‘Original Filters’ and chosen the ‘Chestnut’ option. As you can see, there are loads of options that will all instantly transform the overall image.
What I really like about this app is that it gives you the control to change the strength of the filter by simply dragging the slider at the bottom of the screen.

In the finished image I have taken the ‘Chestnut’ filter down to about 60% to allow more of the original tone to come through.

Well, that’s all for now. I hope you have found this useful. What I really like is that you have much more control over the final effect than you do when using Instagram’s filters.
See you next time for more app fun and please don’t forget to tag your images #markmakingdesign and @swturn3r so that I can see the results.
To view more iPhoneography tips follow #mm_tips.
About markmaking*
markmaking*
mark-making* is an award-winning creative agency specialising in branding, campaigns and communications