It’s a Snap, with Snapseed
Introduction.
Hello to all our lovely Instagram followers, It’s Shannon (mkmkrshannon) here, hoping to share with you some tips and tricks of how I like to go about creating and modifying my images. You can expect a short light-hearted tutorial on Snapseed with some advice along the way. Just to put it out there, there is no correct way of using Snapseed, it is all about experimentation.
Tools I am using for this demonstration:
- My hands
- iPhone 4
- The world
Apps I use for this demonstration:
- Snapseed
Snap, snap, Snapseed.
If you are getting tired of the same basic effects the default Instagram app provides, then Snapseed could be what you are looking for. It allows for thousands of different image outcomes by using the options within the app to customise your image how you want it. The layout of Snapseed is quite simple:
- The canvas, holds your image.
- The toolbar at the bottom.
- The image icon (top right) to flick between the original and your current modifications.
Let us begin.
So, the moment came and you got the great shot you wanted, but you want to make it spectacular!
Here is my image.
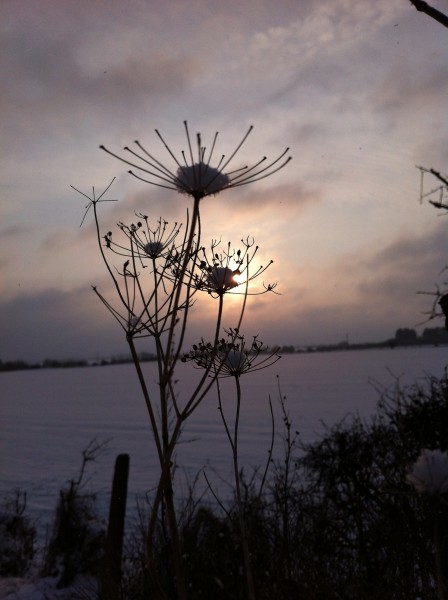
My unedited photo
I chose this shot because I like everything about it. But at the moment the colours are off and it does not reflect the mood I was feeling at the time, also I only want to focus on a certain part of the image. It is nice to start with an outcome in mind, for me I wanted this image to represent a serene feeling.
Step one – Crop.
Open up Snapseed and select your image. As I only want to focus on part of the image I need to use the crop tool. Once in the crop tool you will see an option for different ratios.
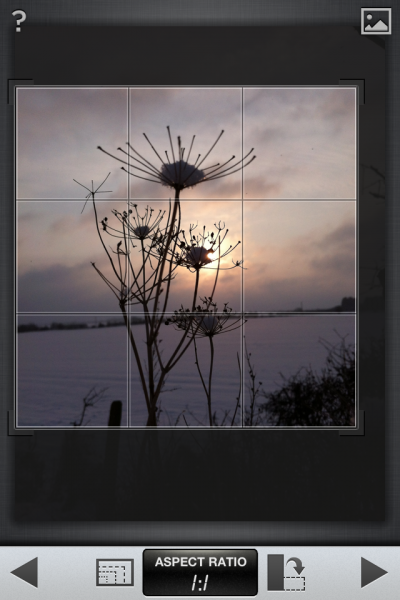
Move the square and drag the corners.
I have selected 1:1 as this will limit us to a square selection which is perfect for Instagram
Step two – Tune image.
The colours were off at the start and they do not align with the outcome in mind. I use the ‘Tune Image’ option here to change the values to match my mood.
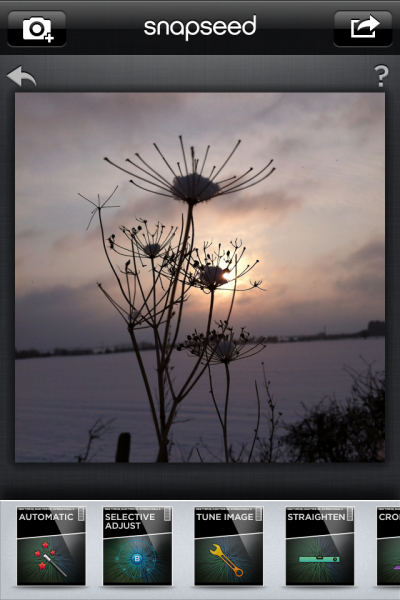
Before ‘Tune image’

After ‘Tune image’
TIP
To change different values such as Brightness, Saturation etc.
- Place your thumb over the image canvas and slide up or down, you will see a menu appear to switch to that option.
- Once on your desired option swipe left or right on the image to increase and decrease the values.
- This principle is the same throughout all of the tools in Snapseed.
Step three – Sharpen.
I like to Sharpen my images, but have found if you use too high of value, they can become grainy so I only use +10.
Step four – Drama.
At this point the image is looking good, but I want to bring the background out more. For this I use the ‘Drama’ tool. My usage was as follows:
- Choose drama type 1.
- Modify the Filter value to +20.
- Modify the Saturation to +70.
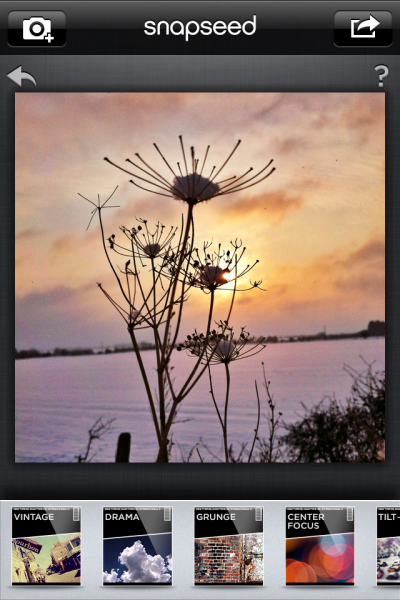
Result of adding the ‘Drama’ filter.
Step five – Center focus.
As my desired outcome is ‘Serene’, the current image is quite sharp and does not look ‘Dreamy’ enough. To remedy this I use ‘Center focus’ with the following type and modifiers:
- Choose ‘Old lens’ from the options.
- Select the bigger circle for more effect.
- Blur +65.
- Outer brightness -85.
- Inner brightness +15.
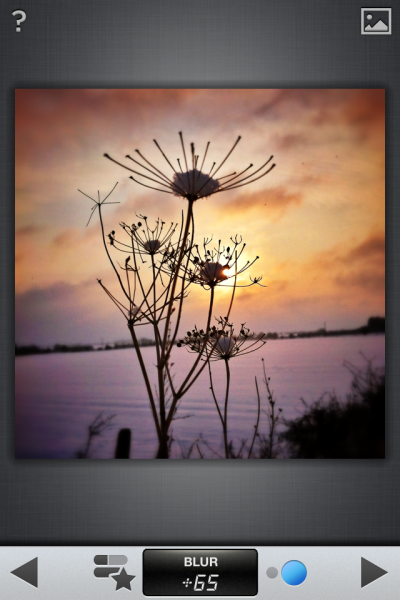
Center focus added to the photo.
Done.
I am happy with this image now, it totally reflects the mood of the shot.
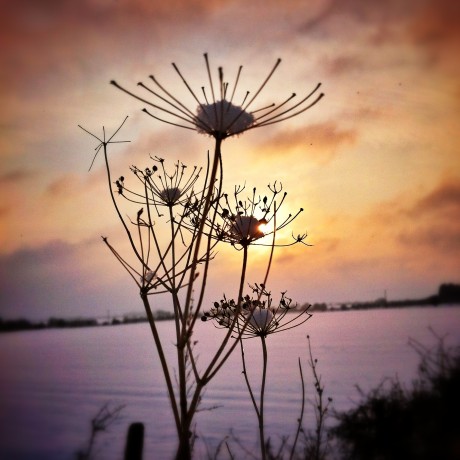
The final piece.
Lets pretend the credits are rolling.
If you are still here at this point, thanks for reading and I hope you enjoyed some of my tips. As a thank you here is one more gem I saved until last, for the special people who read it all.
Secret Step six.
There is this one filter called ‘Retrolux’, to me it can change an image in an instant, and its all about the randomness of it. Honestly all I do is keep pressing shuffle until I find one I like.
Below are some outcomes.
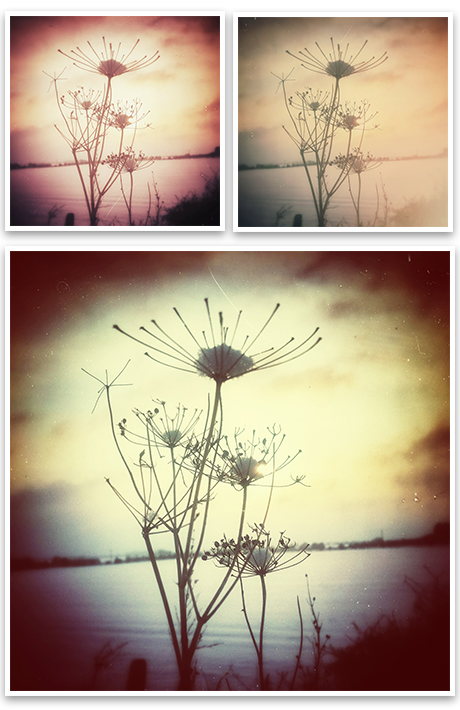
Another secret: The bottom one is my favourite.
So that is about it from me for now. I look forward to seeing any of your images.
DONT FORGET: Tag images with #markmakingdesign.
Shall we make ourselves a secret hashtag? How about #mmsecret
About markmaking*
markmaking*
mark-making* is an award-winning creative agency specialising in branding, campaigns and communications